
Prepare Your Cross-Stitch Pattern for Printing
Review your Crosspic design, choose PDF chart settings, check page overlap and symbols, and keep an editable backup before printing.
A finished design and a comfortable stitching chart serve different purposes. The design shows the result you want; the chart needs to make each stitch easy to find. Before printing a Crosspic pattern, take a few minutes to check both.
Open your project from My patterns and review the design before moving to PDF export. Small corrections are easier to make while the pattern is still open in the editor.
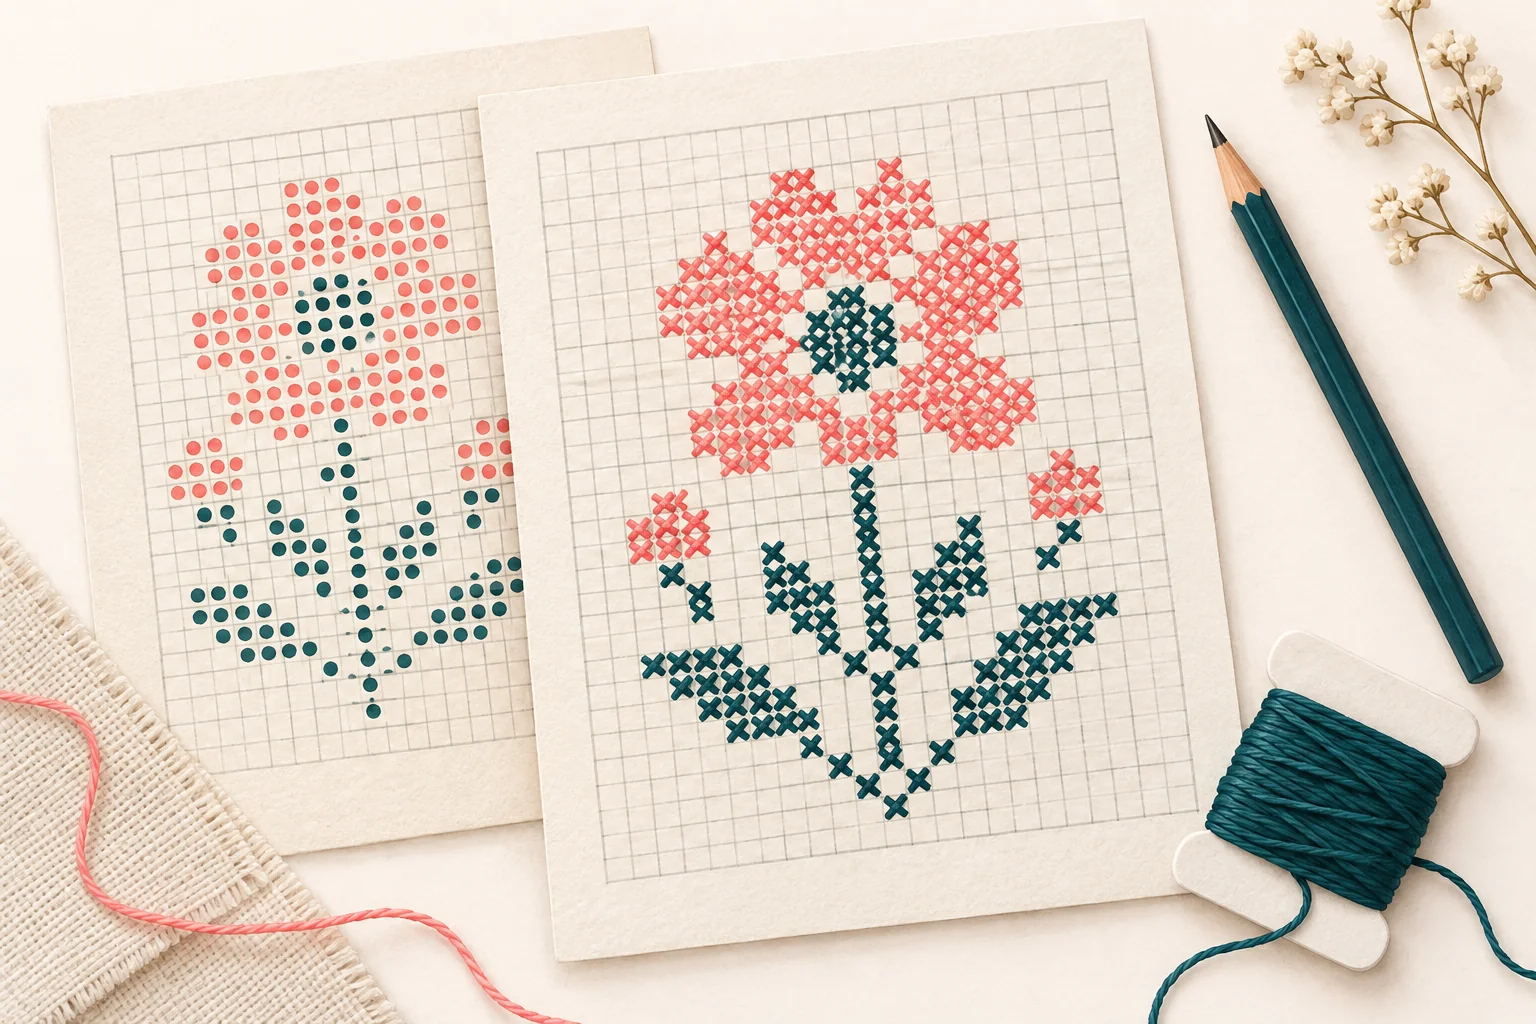
Illustrative artwork, not a downloadable stitch chart or a Crosspic PDF preview.
Review the stitches and project details
Look for stray stitches, unfinished edges, and colors you no longer need. Check backstitch lines if your design uses them. Switch views to inspect both the overall appearance and the symbols used in the chart.
Review the project title, fabric count, strand count, and finished dimensions. These details help you connect the printed chart with the project you intend to stitch. If the palette needs attention, use the color cleanup guide before exporting.
Before cutting fabric, use the cross stitch fabric calculator to check the stitched area and add an allowance on each side for handling and finishing. Changing the printed chart scale does not change the stitched design size.
Choose a chart you can read comfortably
Crosspic can export PDF charts on A4 or US Letter paper. Select the paper size you plan to use, then choose a color, symbol, or combined chart.
- Color charts help you see the pattern's color areas.
- Symbol charts give each color a mark you can follow without depending on color alone.
- Combined charts show both color and symbols.
For a pattern with similar shades, pay particular attention to how clearly the symbols distinguish them. Check the chart at the size you expect to print, rather than judging it only while zoomed in on screen.
Check page boundaries and supporting information
Choose the number of stitches per page to balance readability and page count. Fitting more stitches on each sheet can reduce the number of pages, but makes each chart cell smaller.
Leave Automatic chart sizing selected for the starting layout. To choose the number of chart cells on each sheet yourself, turn it off and adjust Columns / page and Rows / page. These change the printed arrangement, not your pattern's stitch dimensions or fabric size.
For a multi-page chart, inspect the page overlap and grid numbering. Overlapping rows or columns provide shared reference points between pages; they repeat part of the chart rather than adding stitches to the design.
For a real example, the unicorn PDF splits its 100 × 100 grid into four chart pages. The two upper pages cover columns 1–59 and 57–100. Columns 57–59 are repeated: after completing column 59 on the first page, continue at column 60 on the next. Match the row numbers as well as the column numbers before stitching.
Include the supporting information you will use, such as a legend, center arrows, cover, or pattern preview. In the generated PDF preview, check the first page, a page boundary, and the legend before downloading.
Use Generate PDF preview, then inspect the actual booklet. If you change a setting after generating it, use Regenerate preview before Download PDF; the download remains unavailable while the displayed preview is out of date. If the on-screen preview cannot render but a PDF was generated, download it and inspect it in a PDF reader before printing.
Print a test page and keep your project file
Try one chart page before printing the full document. Confirm that you can distinguish the symbols and follow the grid under the lighting where you plan to stitch.
Keep the PDF for reading and printing, and export a separate .crosspic backup for future edits. The editable project preserves the stitches and palette so you can revise the design later.
If this is your first design, the blank-canvas guide walks through a small project from its first stitches to saving a backup.